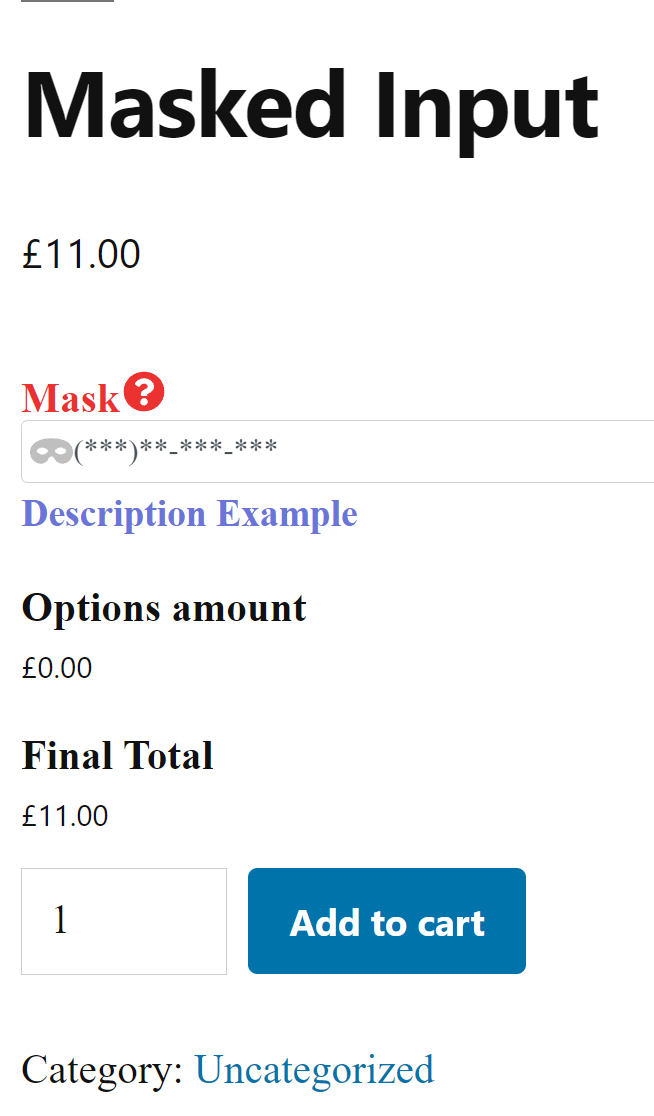
Force users to fill the field with a specific format
Settings
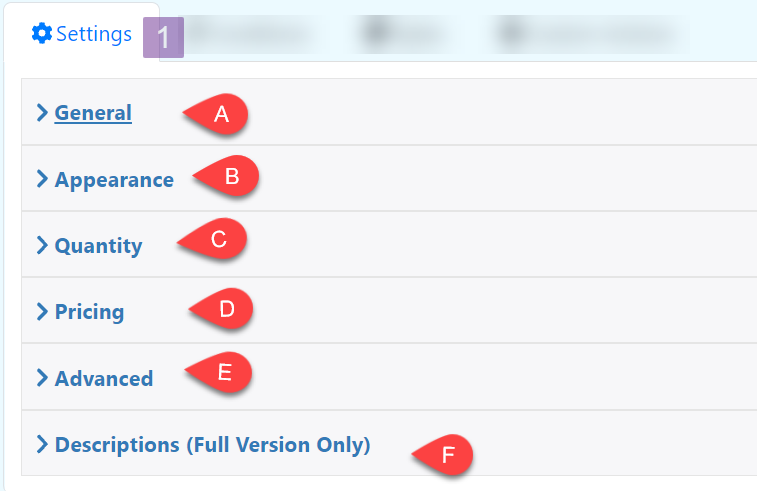
General
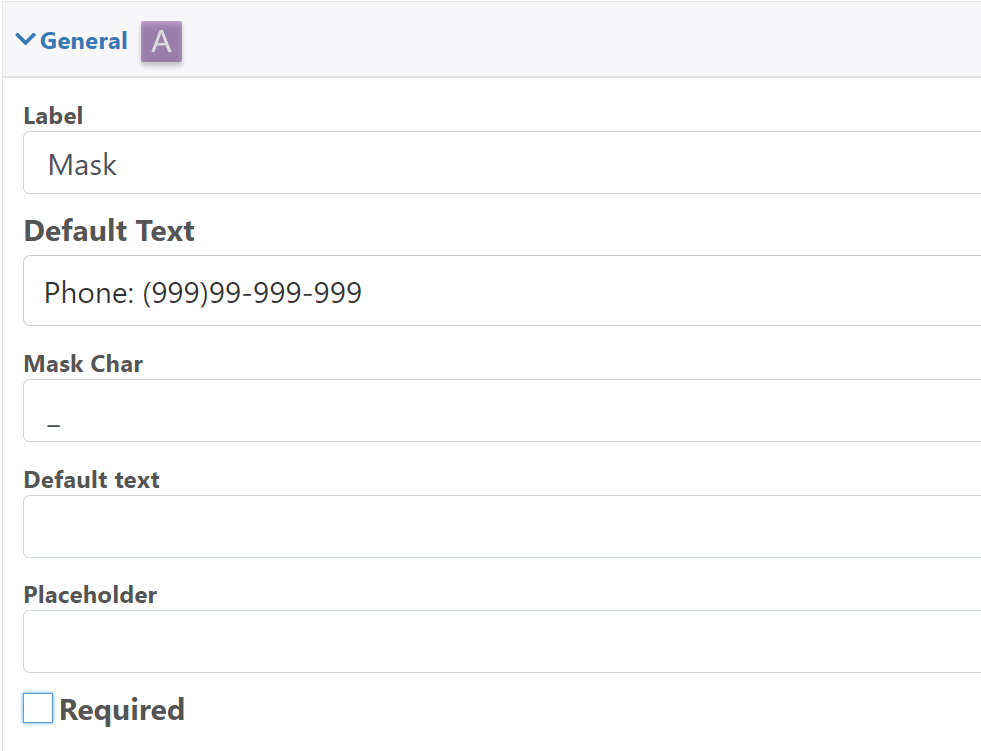
Label: Label of the Mask
Mask Type
Configure the type of text that the box is going to accept
Phone: A mask that accept a phone number with lada
Credit Card: A mask that accept a credit card number
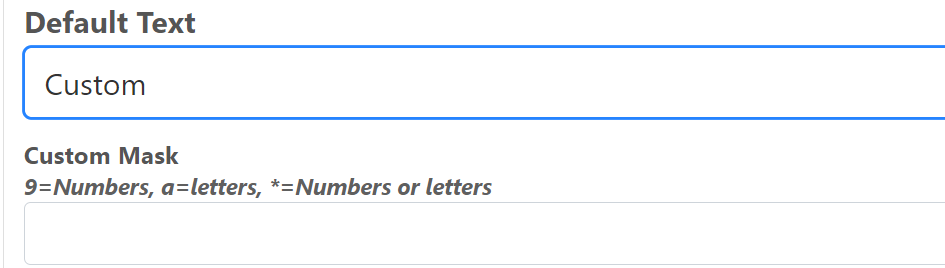
Custom: Define a custom mask

Custom
When you select custom a setting called “Custom Mask” will be shown, here you can define the format that this field should accept using these characters:
9: It accept numbers
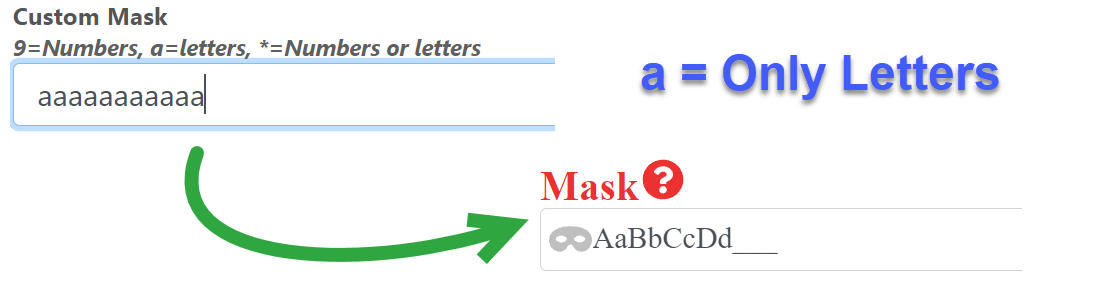
a: It accept letters
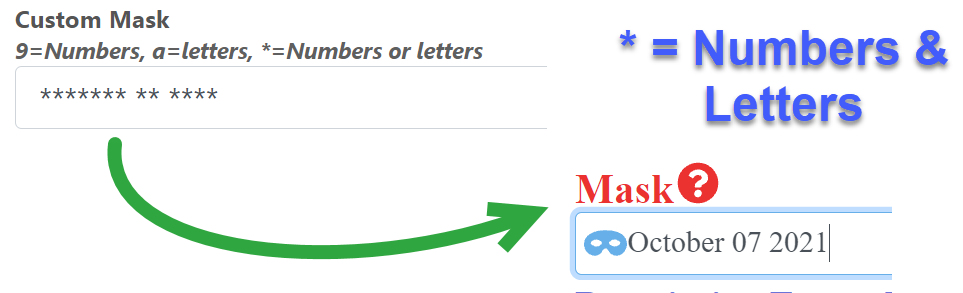
*: It accept numbers of letters
So for example if your custom mask is 999a* the field will only accept text where the first 3 characters are number the fourth is a letter and the fifth is a number or letter

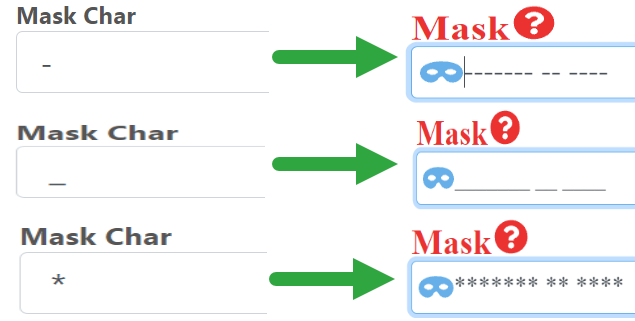
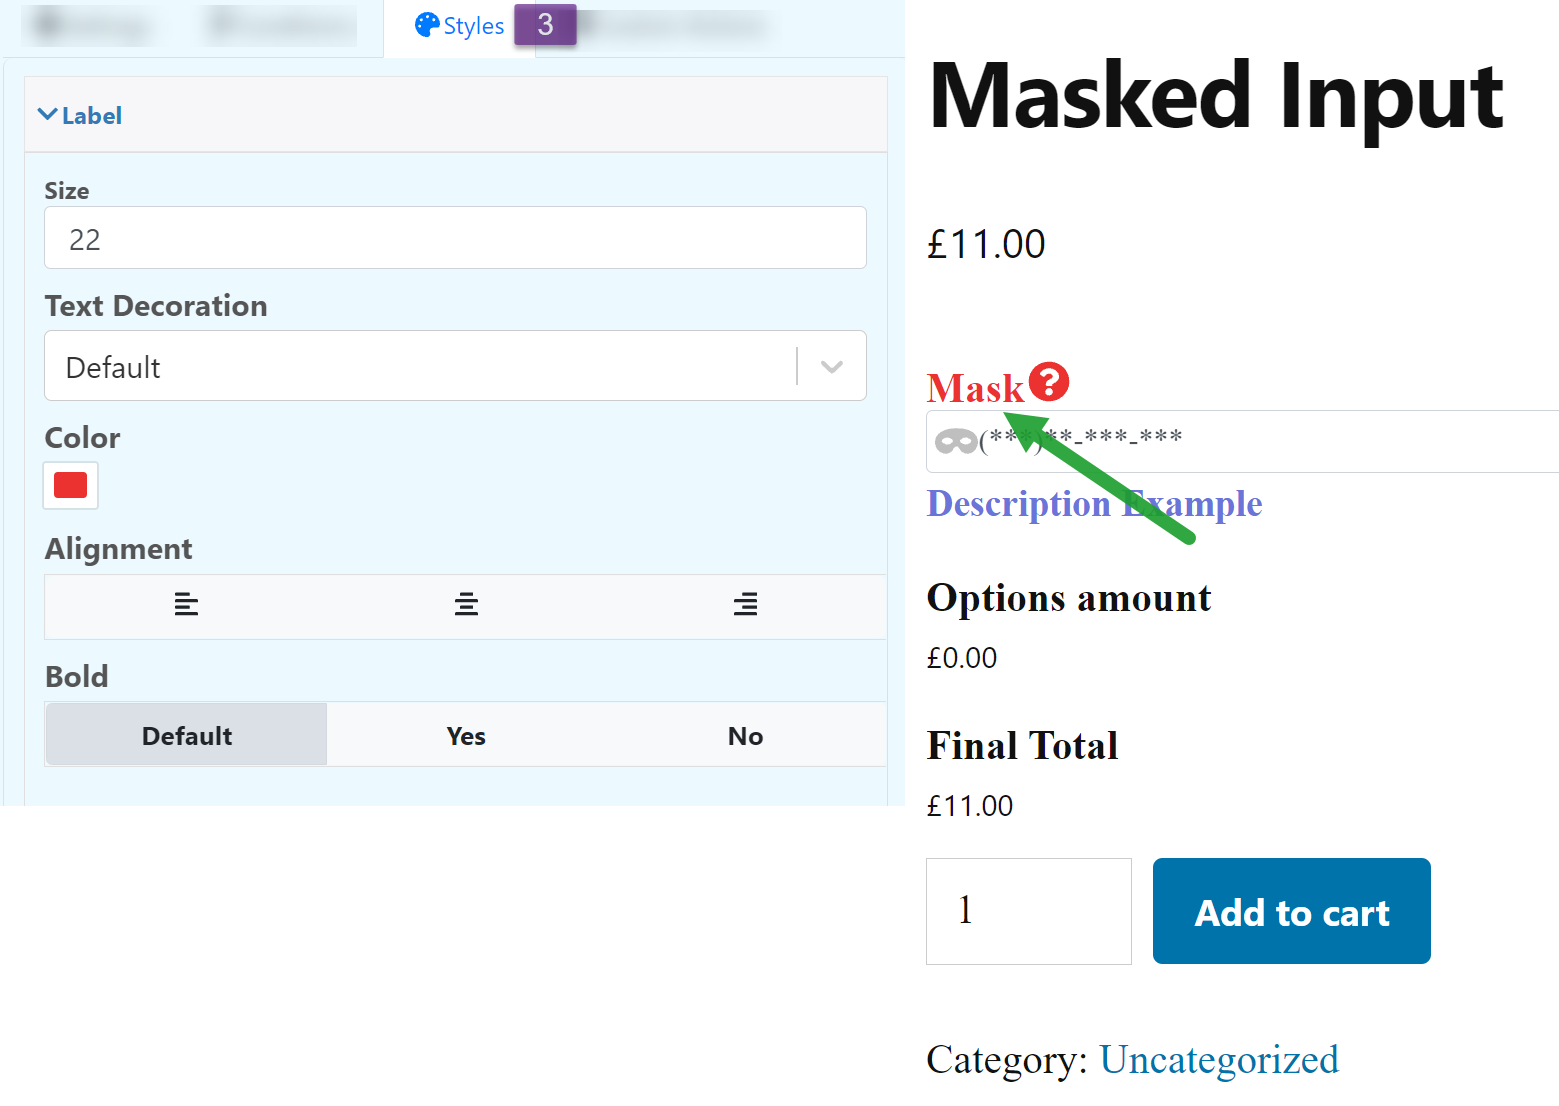
Mask Char: The character that will appear when the field is not filled yet
Default Text: The default text that the box is going to show, this default text must comply with the mask type that you are using (so for example if your mask field allow only numbers your default text should have only numbers) or it wont be displayed.
Placeholder: Text that is shown when the field is empty
Required: Make the field required
Appearance
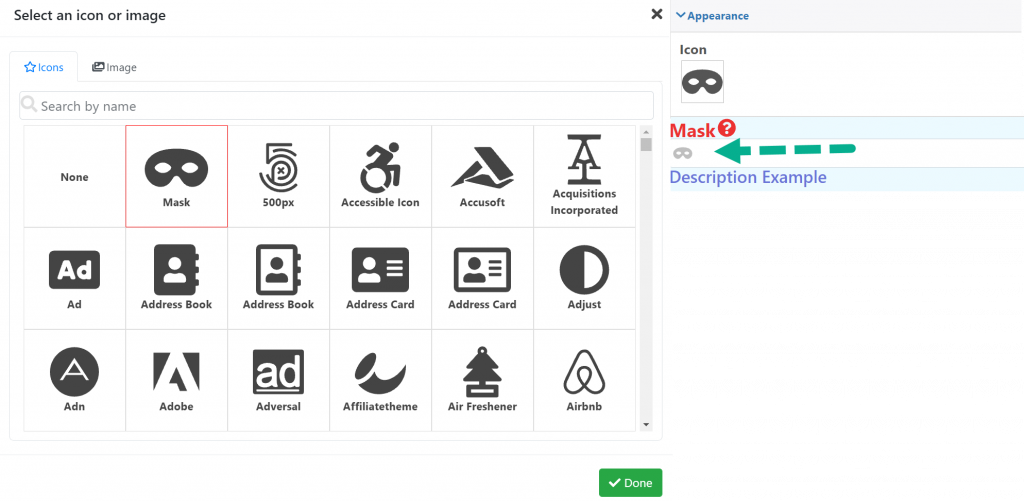
Icon: choose from a wide variety of icons or upload your own image from your gallery, this icon is displayed inside the Mask field
Quantity
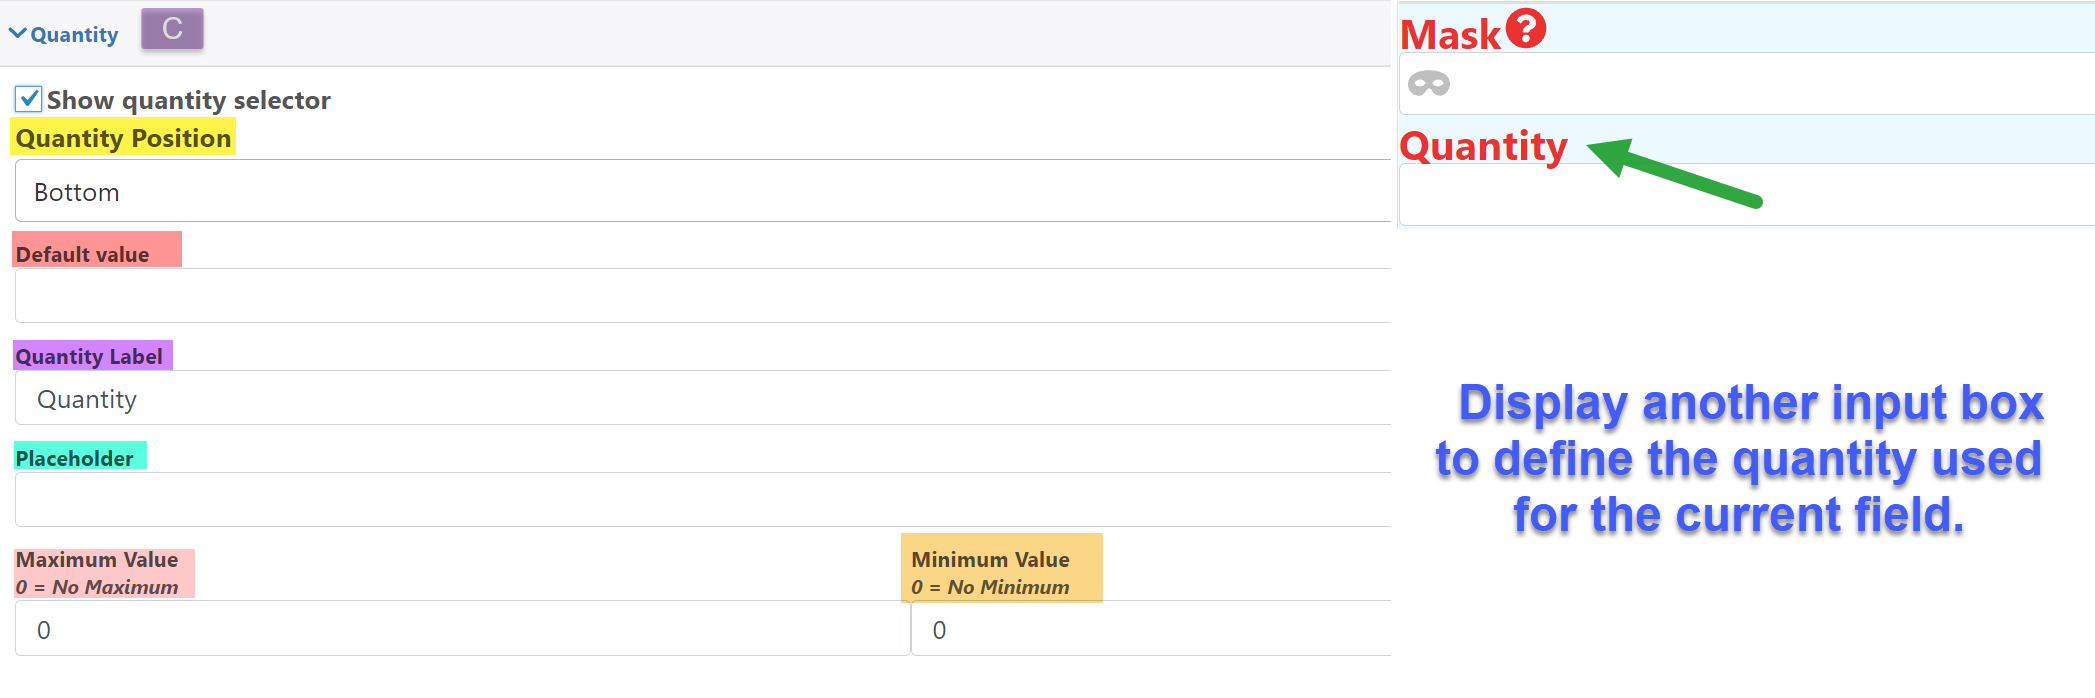
Quantity Position: Define the position of the quantity field
Default value: Edit the default quantity
Quantity Label: Label for the quantity field
Placeholder: Text that is shown when the quantity field is empty
Maximum Value: Maximum quantity
Minimum Value: Minimum quantity
Pricing
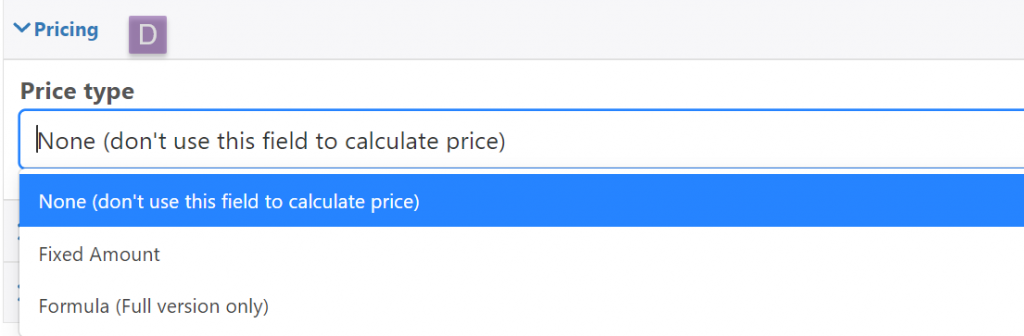
Price type: Add the price of the option, or leave it empty, in the full version you can use your own formula.
Advanced
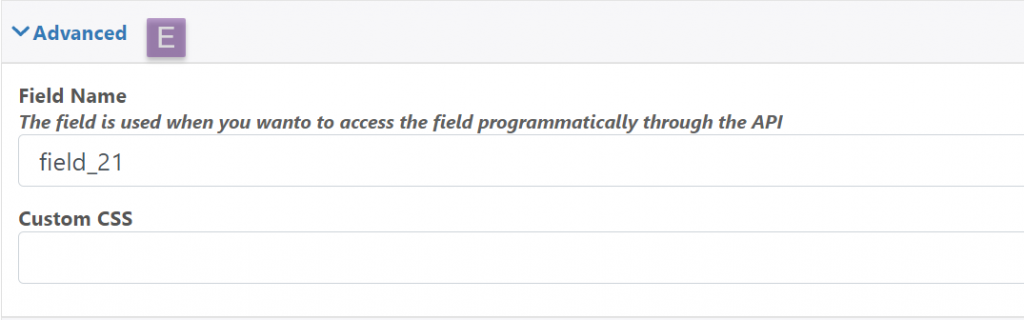
Field Name: The field name is used when you wanto to access the field programmatically through the API
Custom CSS: Add a classname to the field that can be used to style it using CSS
Descriptions (Full Version Only)
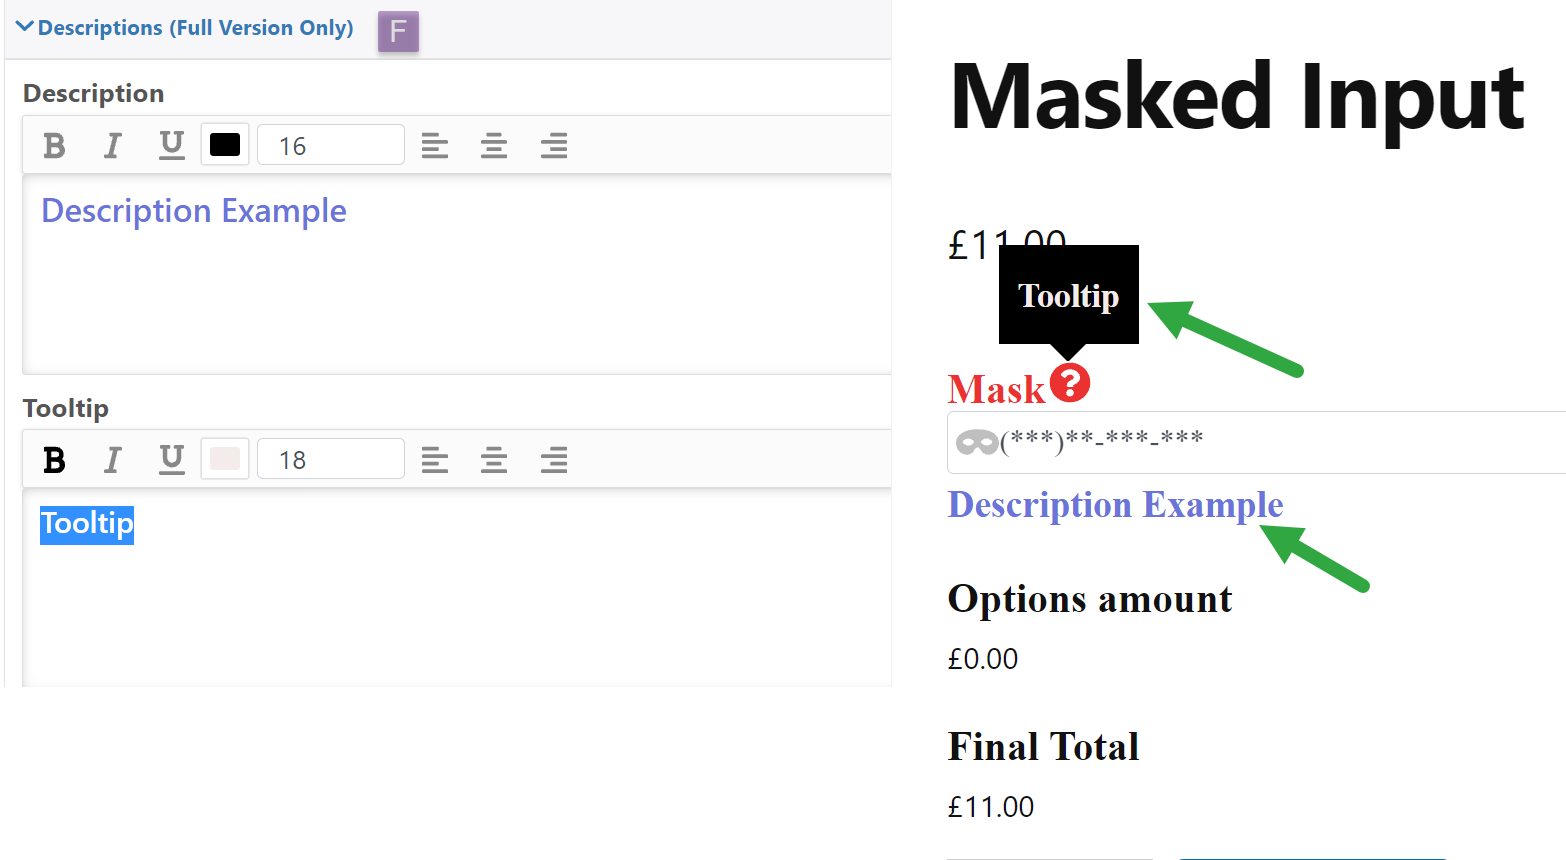
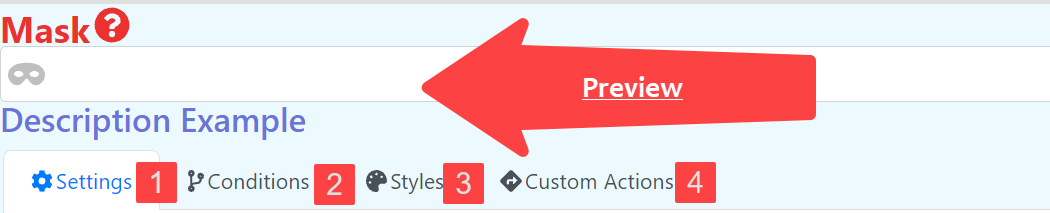
Description: Description below the Mask.
Tooltip: Add a symbol next to the name of the dropdown where a descriptive text will appear
Conditions
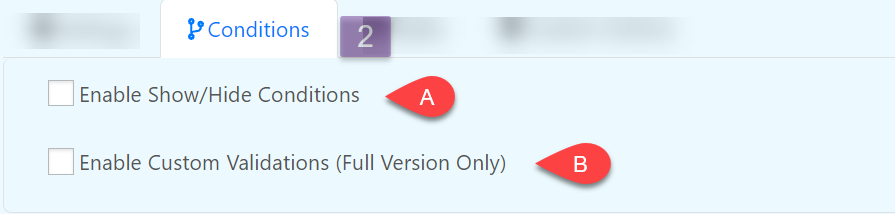
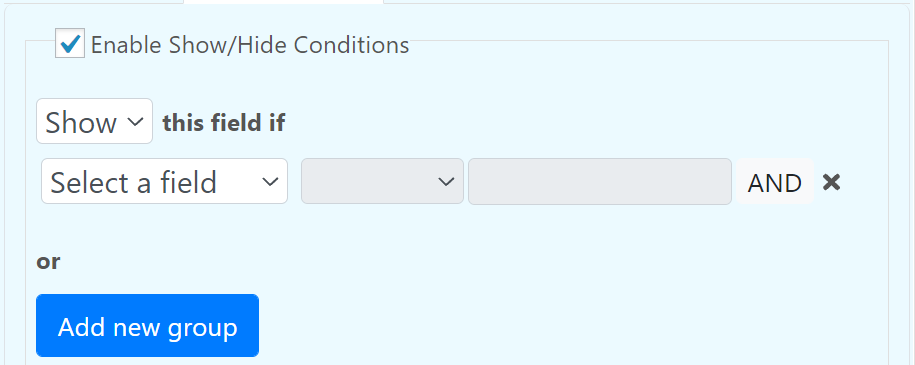
Enable Show/Hide Conditions
Enable Custom Validation (Full Version Only)

Styles
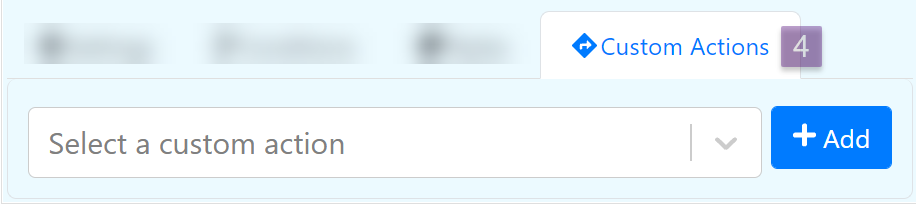
Custom Actions